How to install a PET felt wall?
Follow these step-by-step instructions
With this step-by-step guide, you can easily install an acoustic PET felt wall. Follow the instructions carefully to achieve a smooth and professional result.
1. Prepare the installation
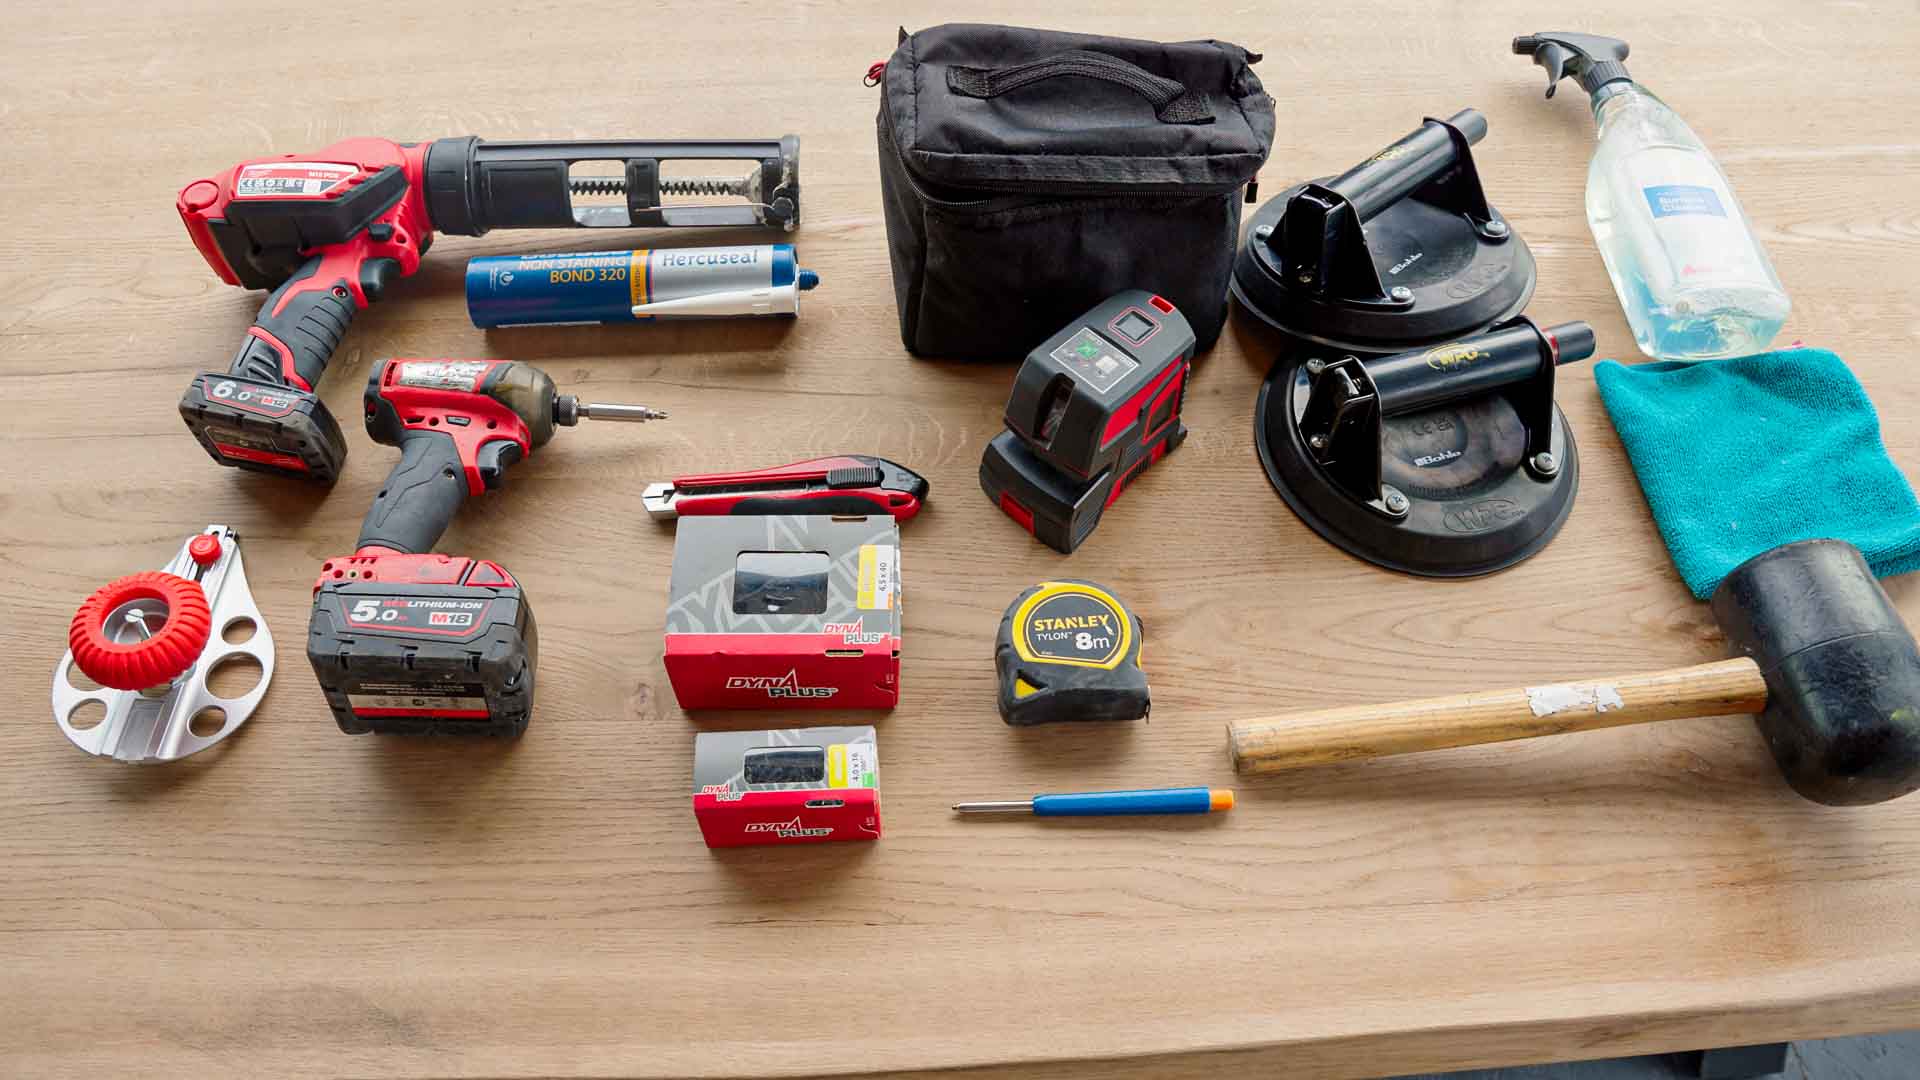
Make sure all required tools and materials are ready before you start. Think of a tape measure, spirit level or laser, pencil, utility knife or jigsaw, drill, screws, and a suitable adhesive or mounting kit. Proper preparation prevents delays and ensures a smooth installation process.
2. Measure the wall accurately
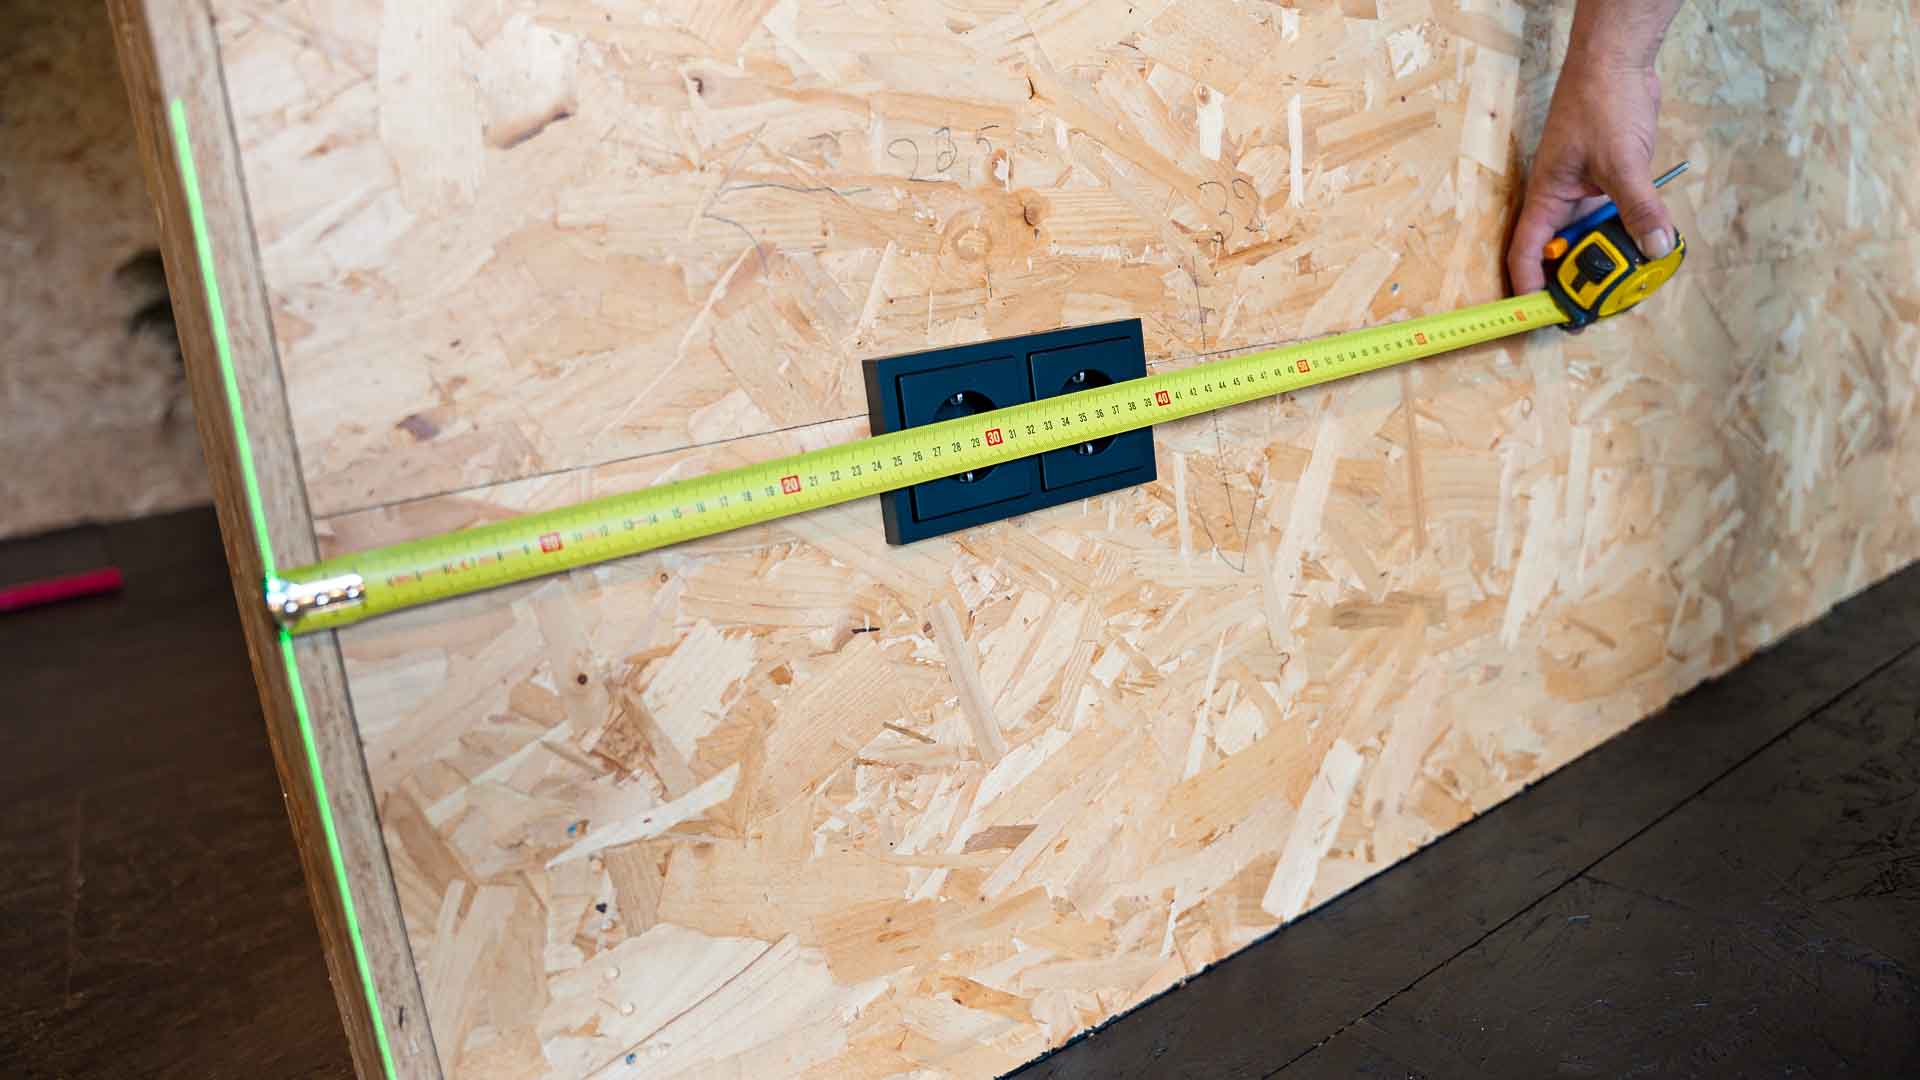
Measure the entire wall where the acoustic panels will be placed. Use a laser to determine the exact height and width. Also note the position of any sockets or switches, including their distance from the wall edges.
3. Prepare the wall and panels
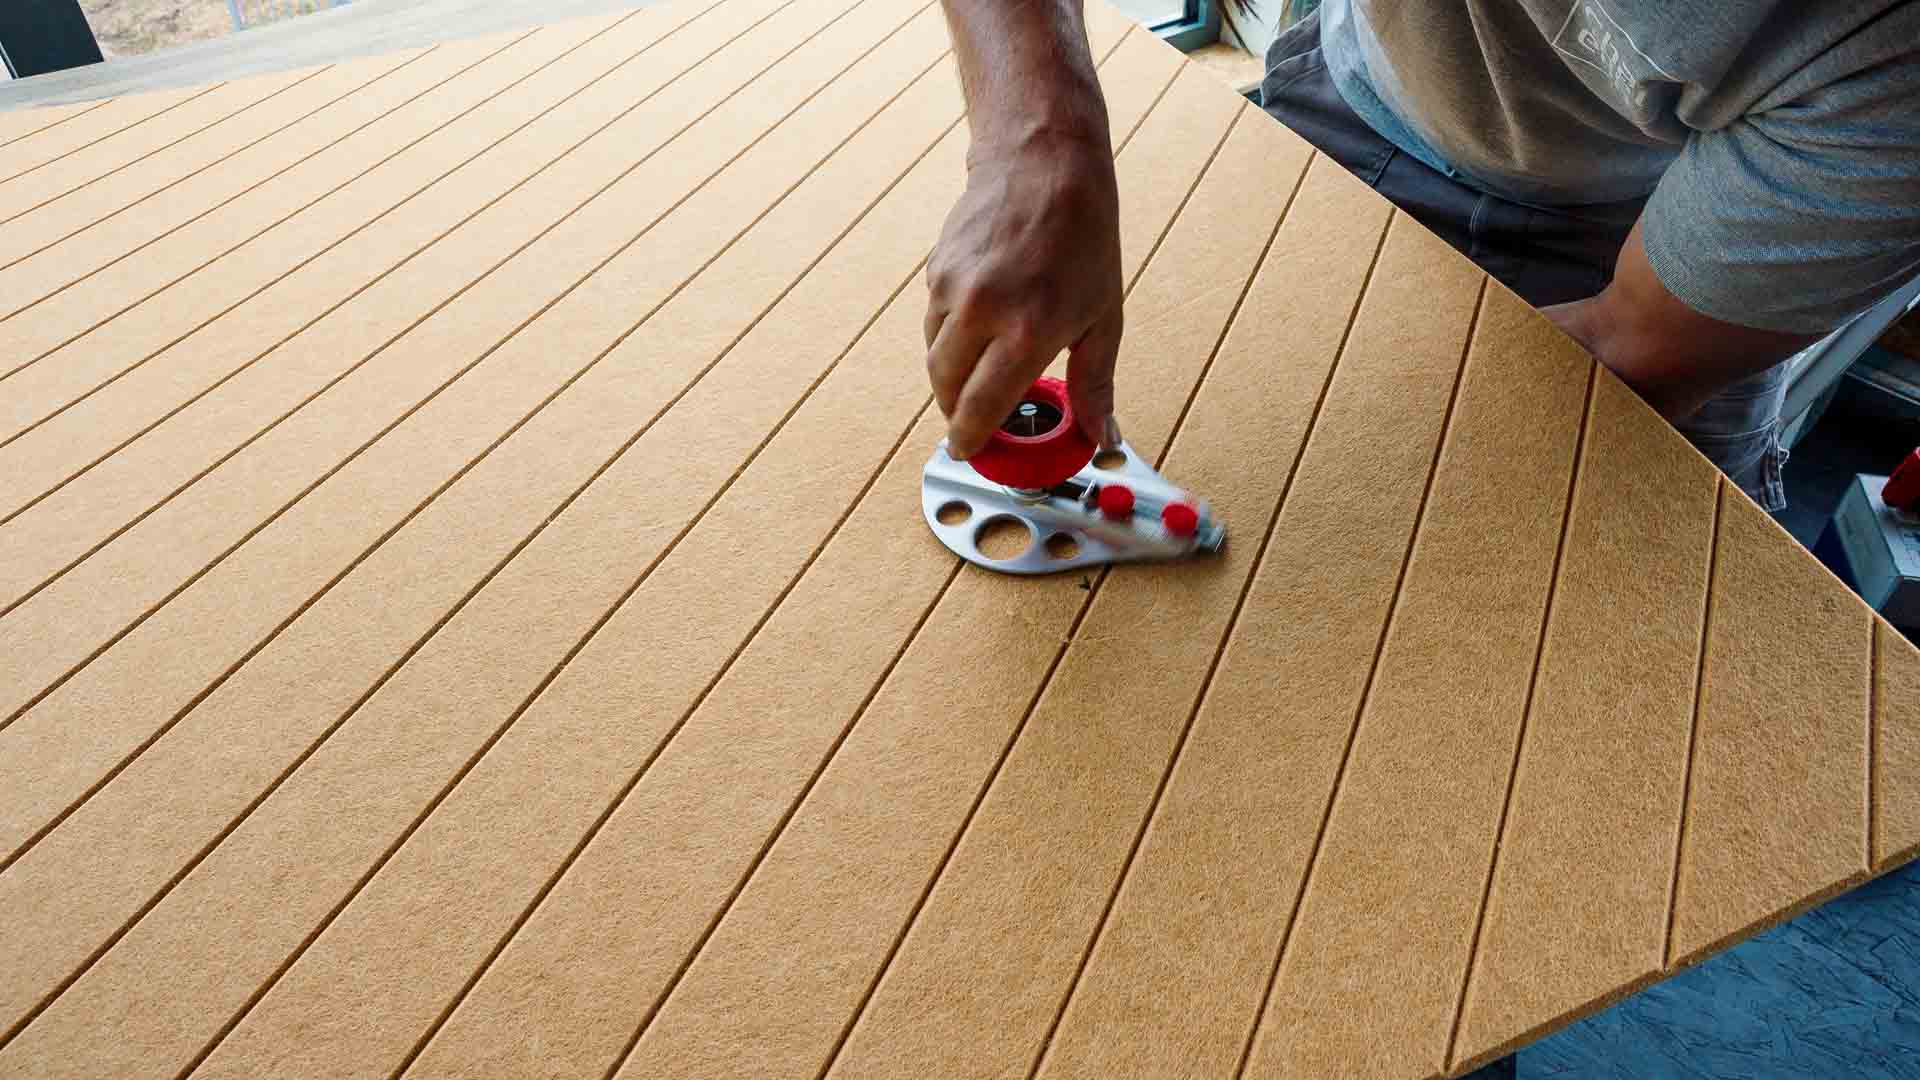
Remove any sockets or switches that will be covered by the panels. First, turn off the power at the circuit breaker. Transfer the measured positions onto the back of the PET felt panel and draw the contour of the cutout. Carefully cut out the opening with a utility knife or jigsaw.
4. Apply adhesive and install the panels
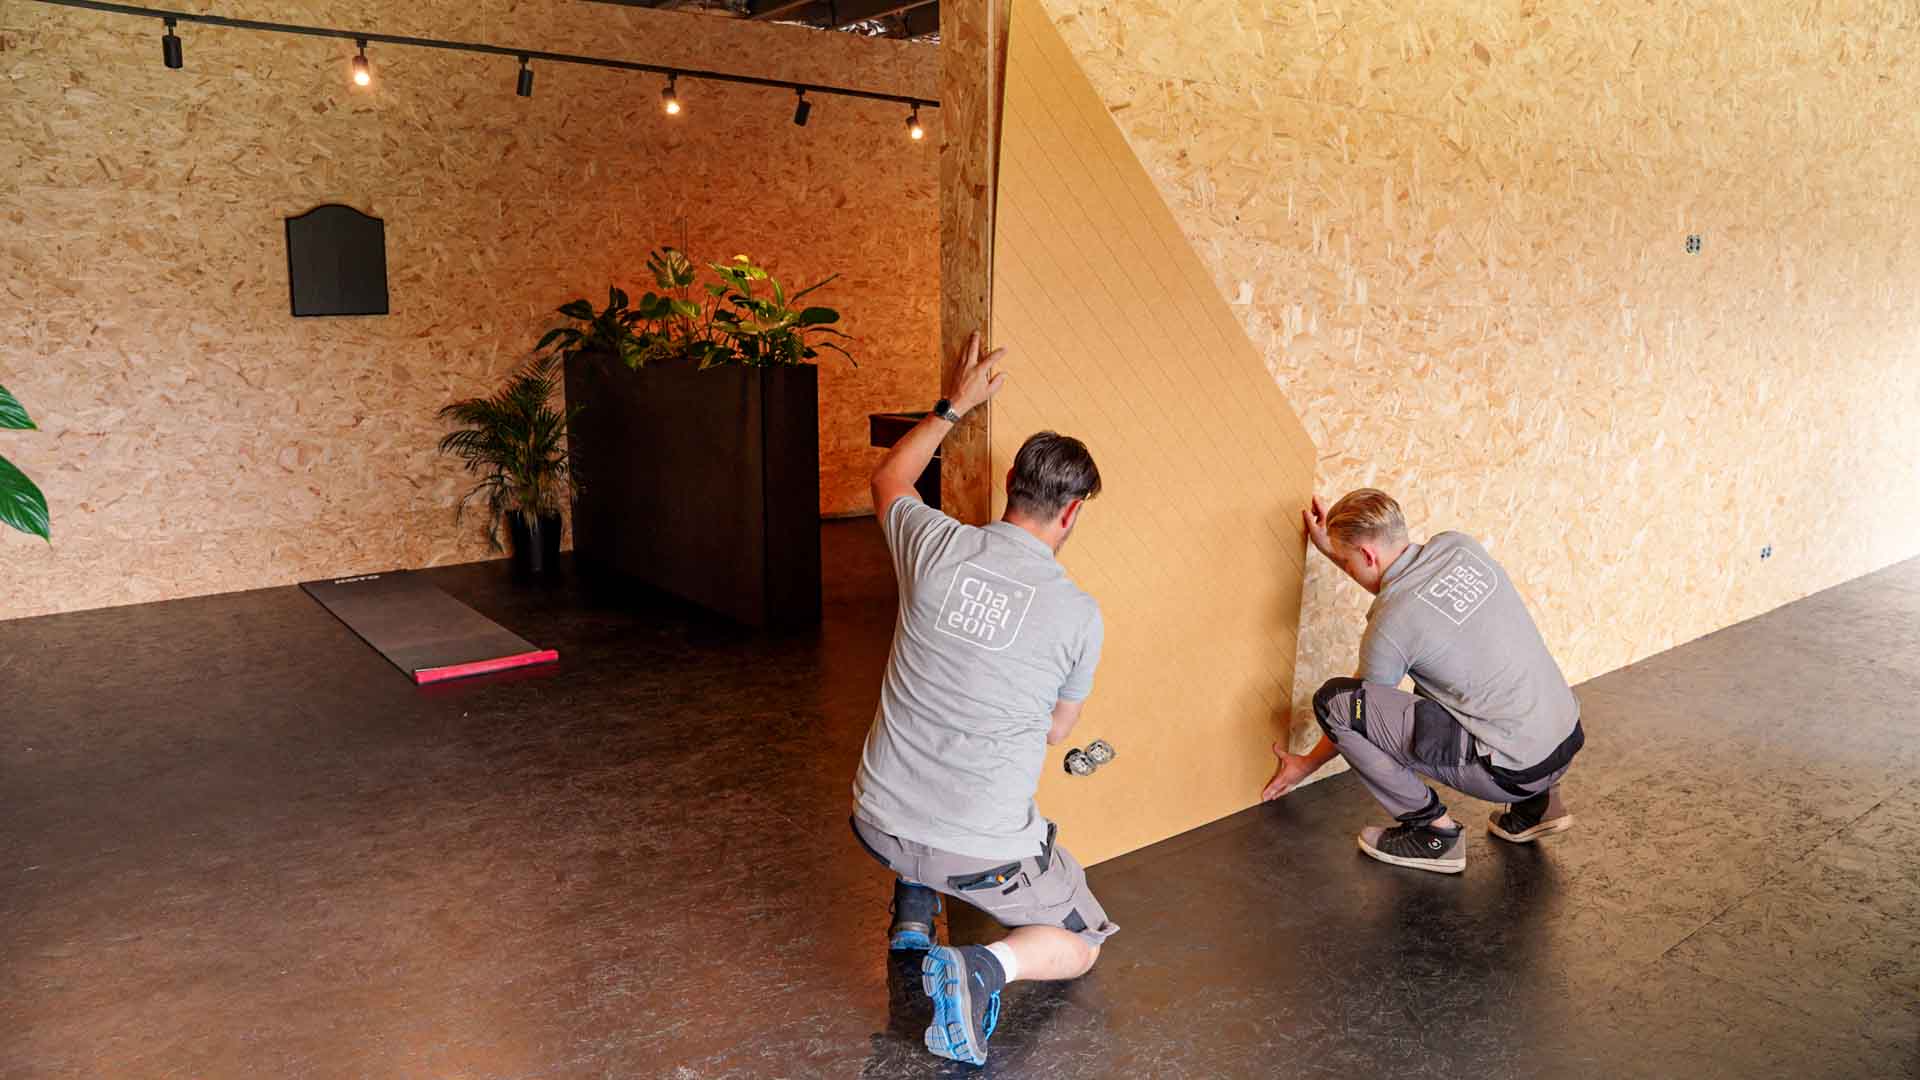
Use an adhesive suitable for your wall type. Apply it evenly across the back of the panel, paying special attention to the corners and edges. Place the first panel in the lower left or right corner of the wall, align it with the markings and press firmly. Continue installing the remaining panels from bottom to top and left to right. Check alignment regularly and avoid open joints.
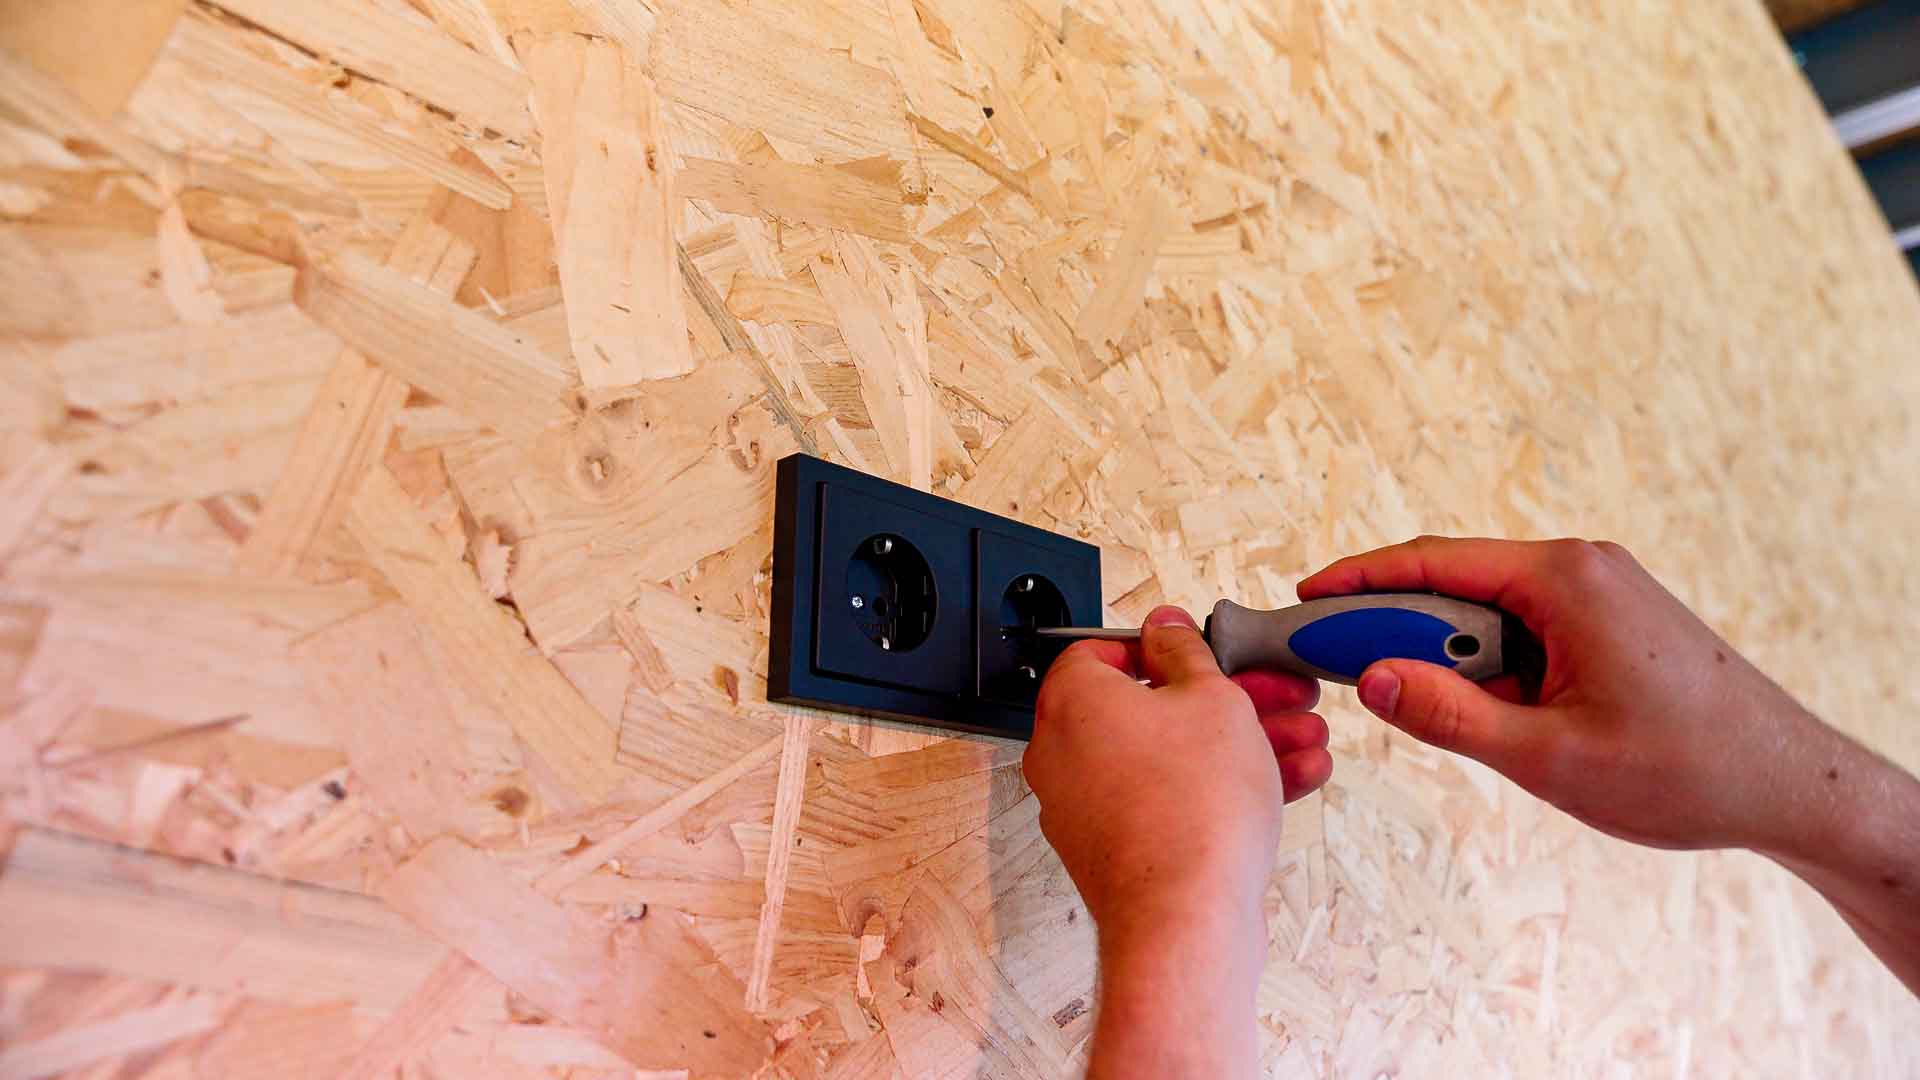
5. Reinstall sockets and switches
Once all panels are installed, reinstall the sockets or switches in their original place.
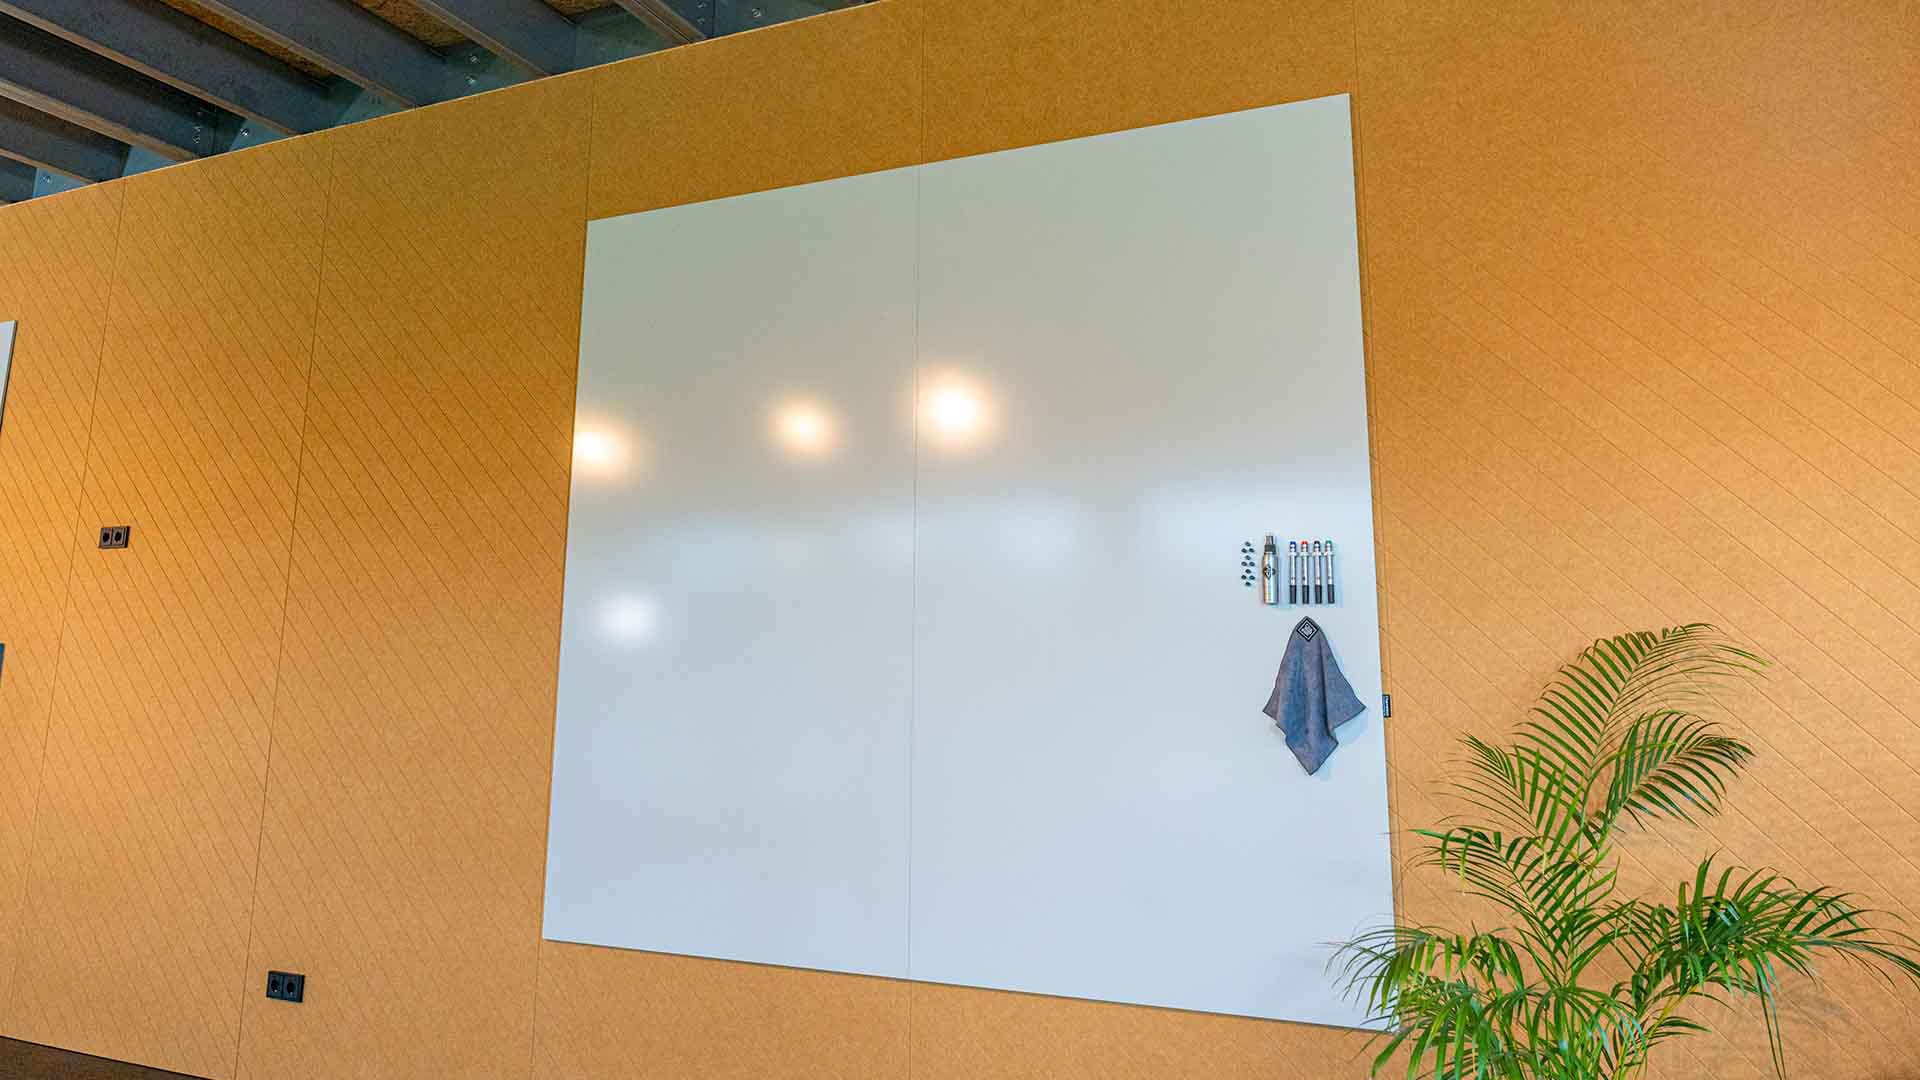
6. Combine with a Chameleon whiteboard
Would you like to add a Chameleon whiteboard on top of your PET felt wall? Visit the separate ProTips page with video on how to install a whiteboard wall for detailed guidance.
7. Check the final result
Check that all panels fit tightly and the wall is smooth and neatly finished. Congratulations, your PET felt wall is ready for use.