How to measure a floor-to-ceiling PET-felt wall?
Efficient and error-free measuring
Measuring a full-wall PET-felt wall is essential to guarantee a perfect fit. It also gives us insight into any challenges in the room, such as uneven walls, obstacles or cut-outs.
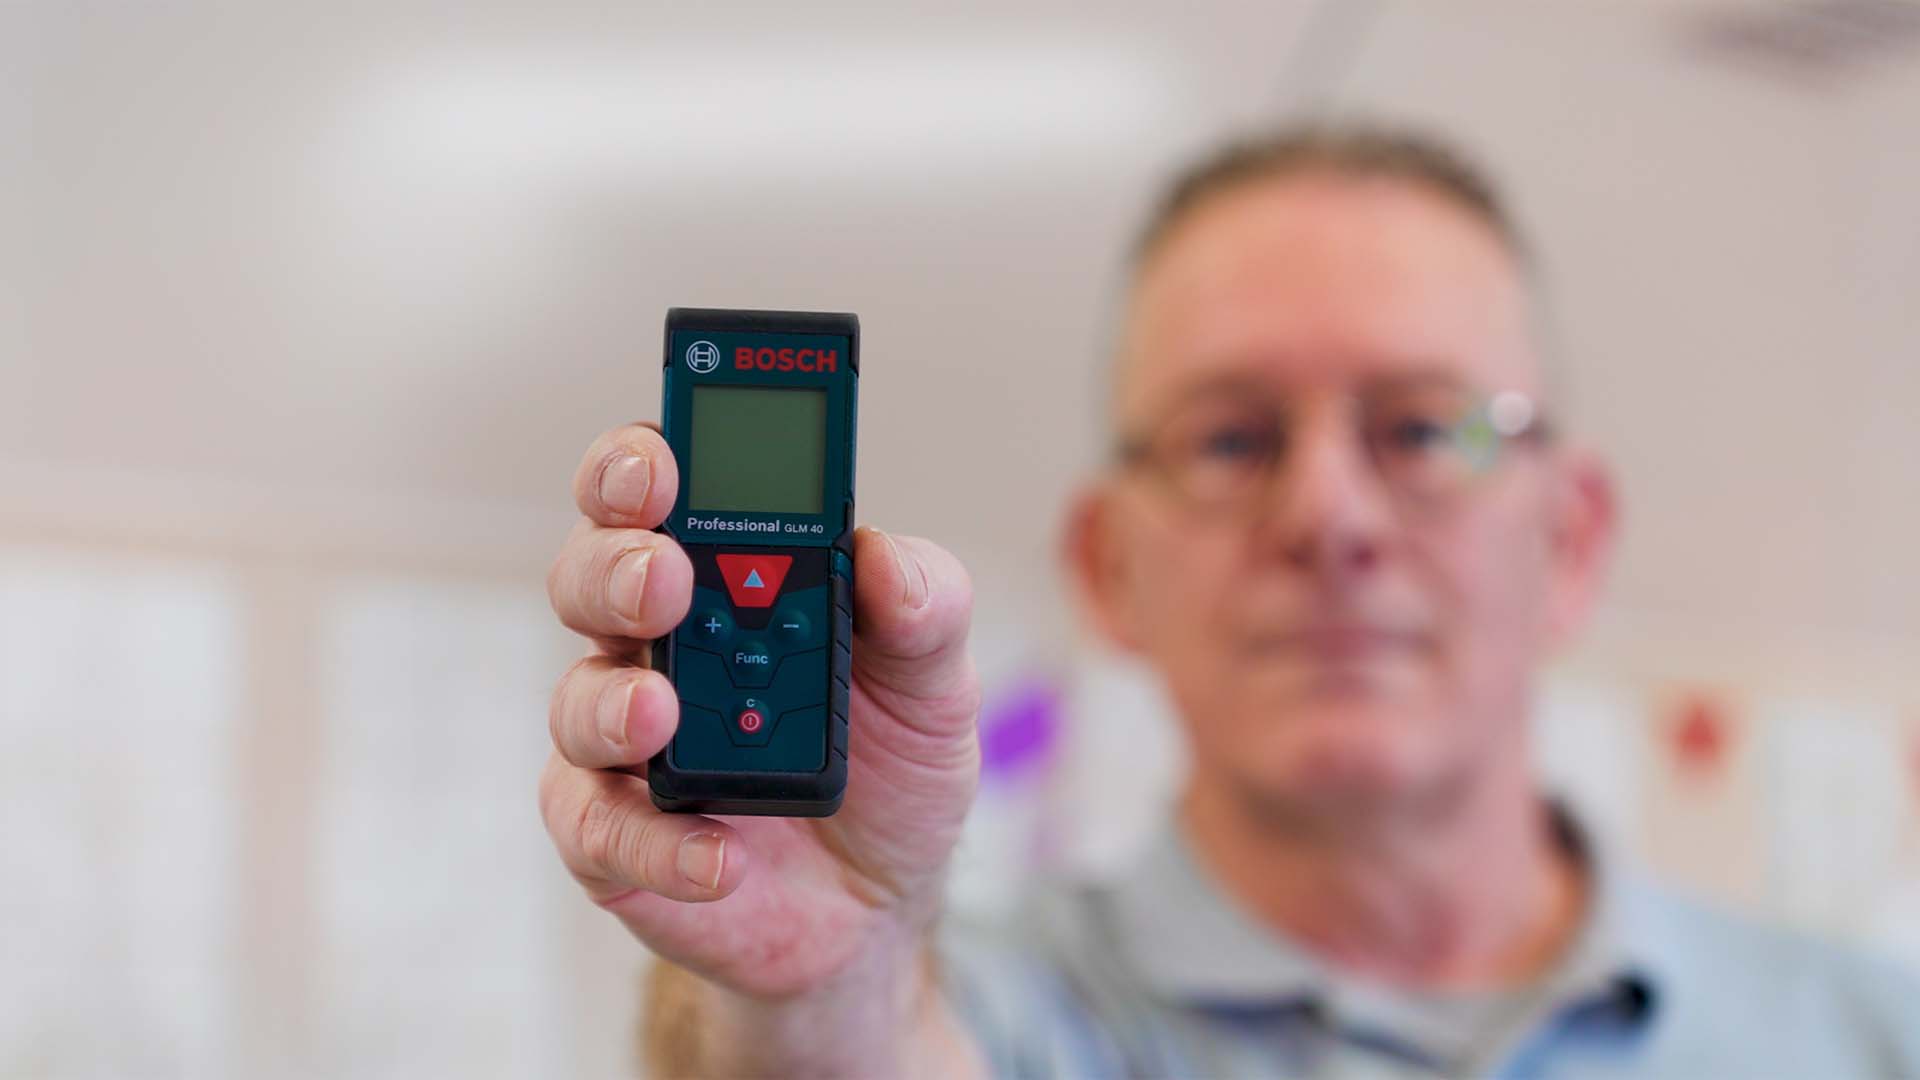
1. The right tools & measuring form
For the most accurate result use a laser distance meter. This gives much more precise dimensions than a tape measure. In addition use the measuring form to record all measurements, remarks and cut-outs immediately.
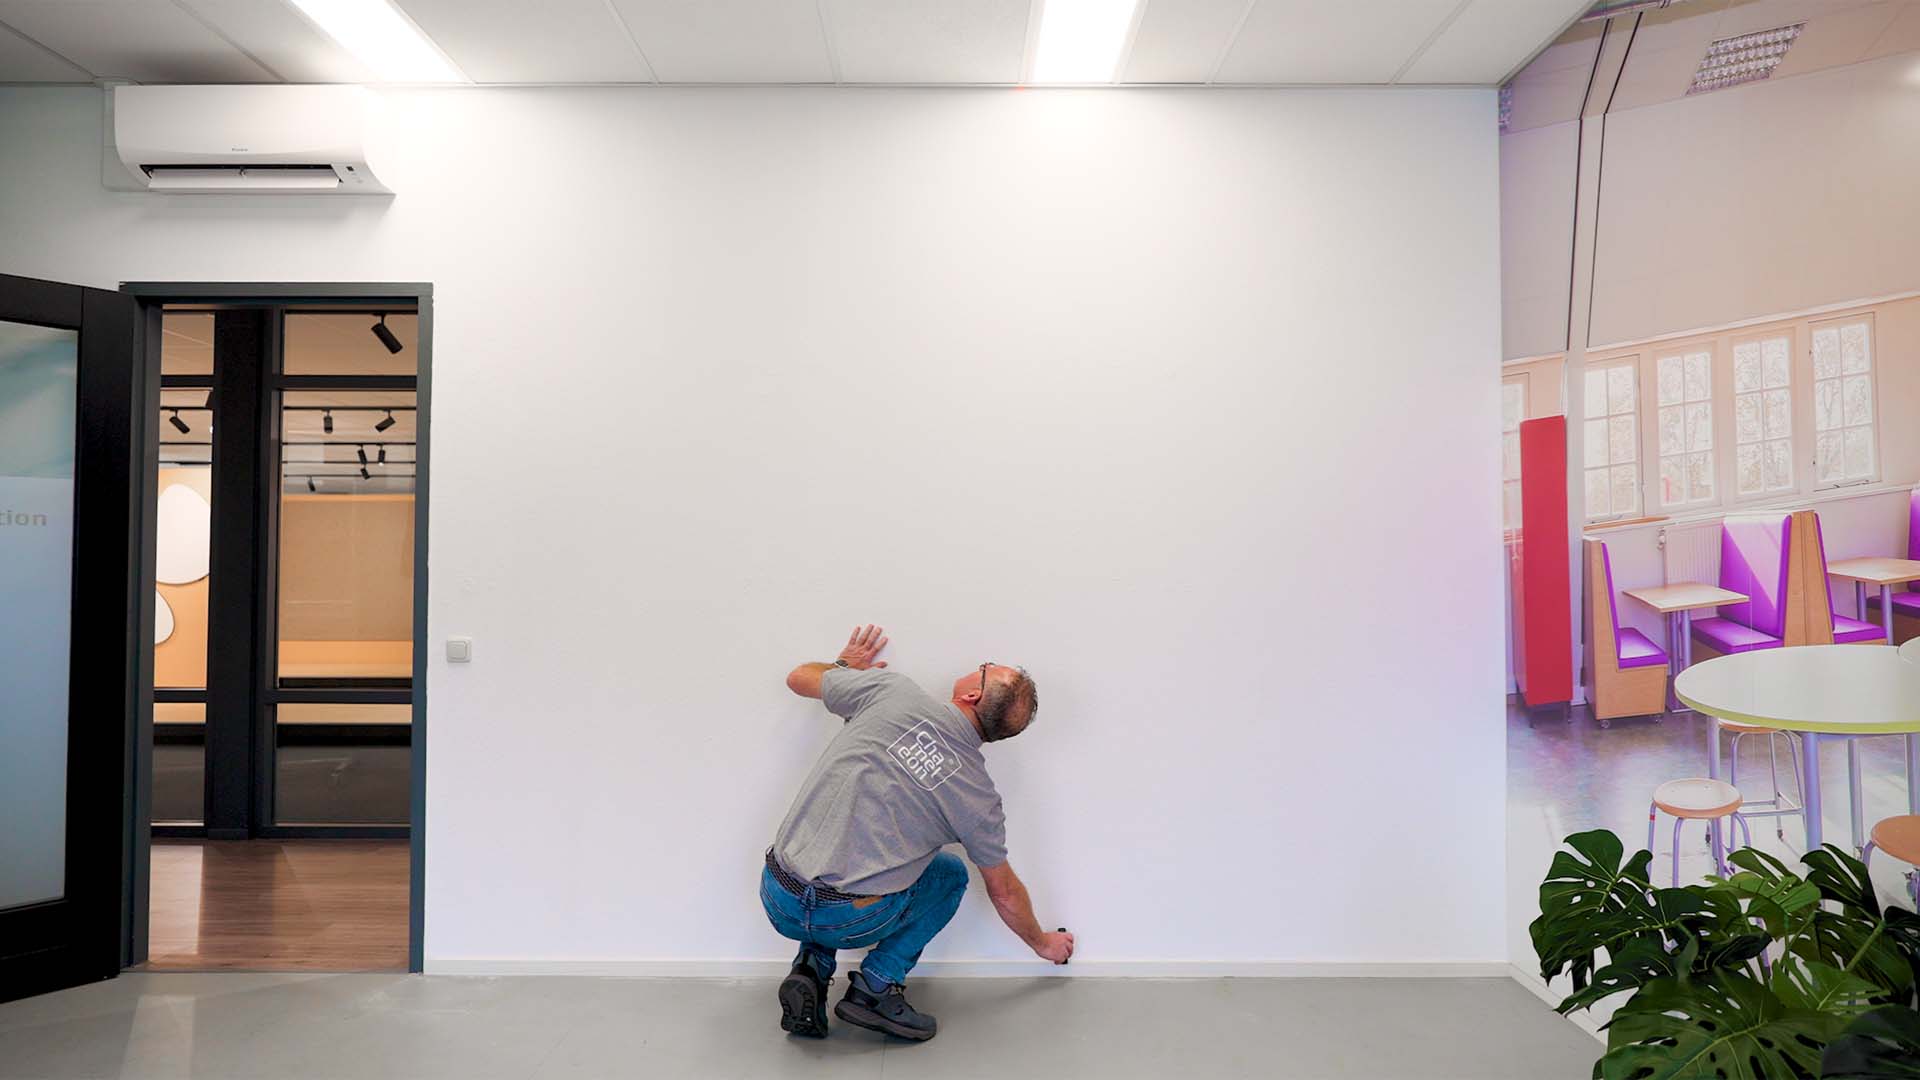
2. Measure the height
Measure the wall from floor to ceiling at multiple points. Subtract 10 mm from the height, this small margin ensures your PET-felt wall will fit perfectly, even if the wall is not entirely straight. Record the shortest measured height, including the 10 mm deduction, on the measuring form.
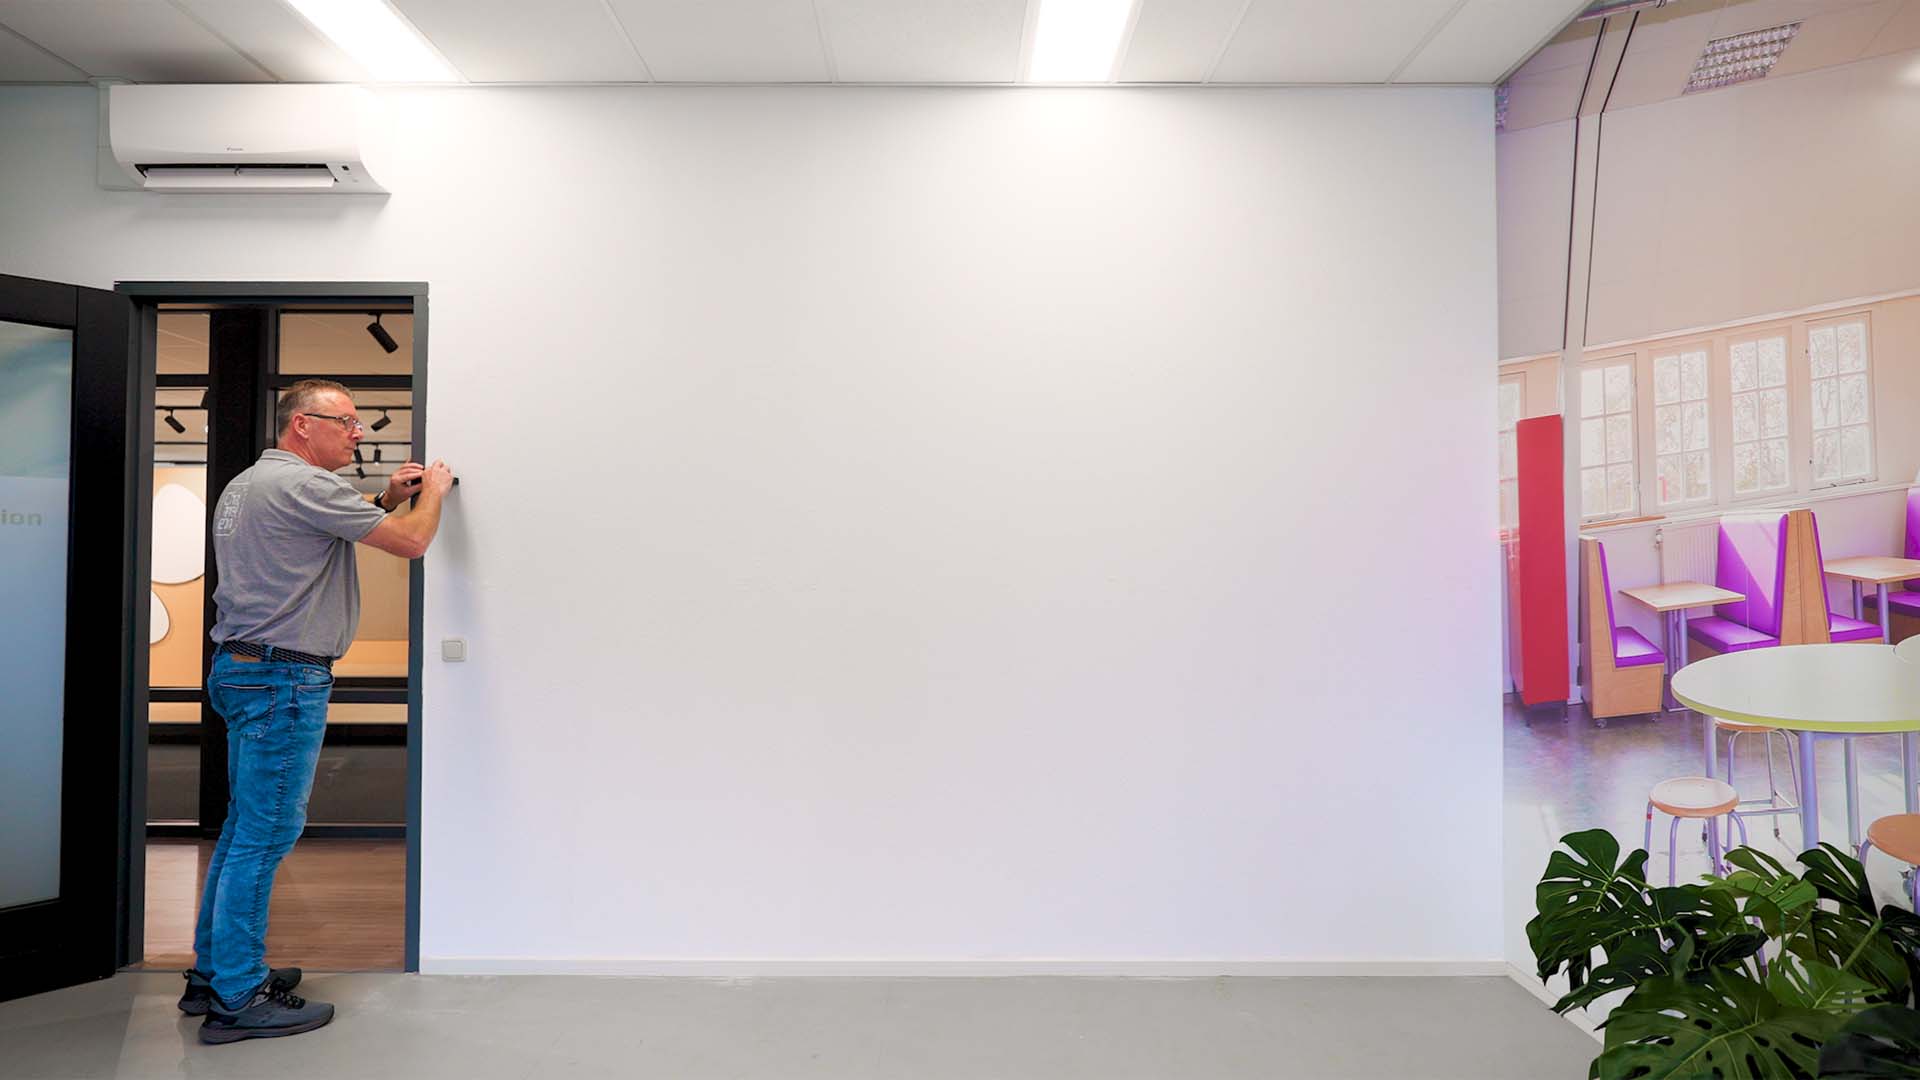
3. Measure the width
Measure the wall from left to right at several locations. Subtract 10 mm from the width, this small margin ensures your PET-felt wall will fit perfectly, even if the wall is slightly uneven. Record the shortest measured width, including the 10 mm deduction, on the measuring form.
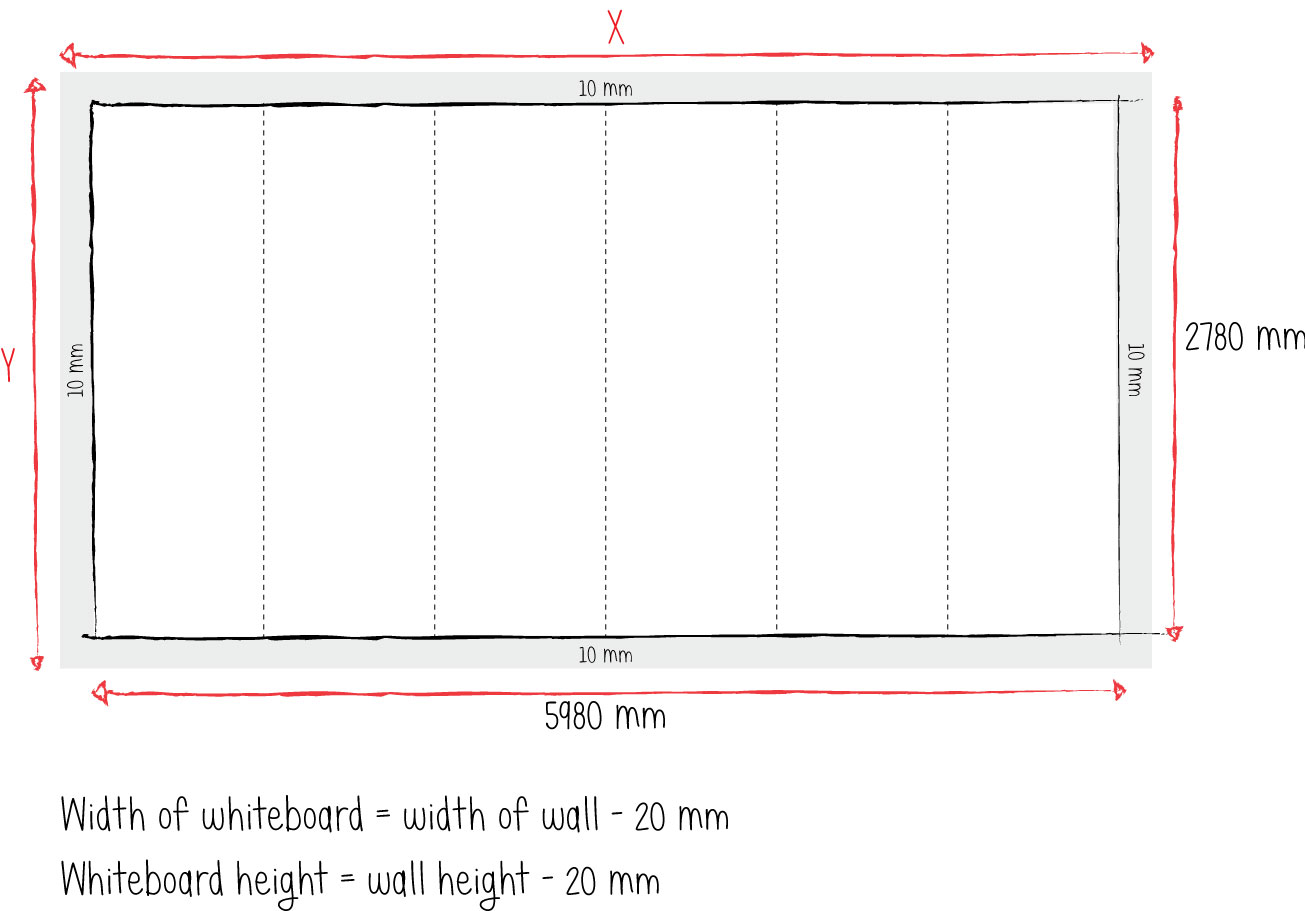
4. Determine the size of the PET-felt wall
The dimensions that remain become the size of the PET-felt wall you will order or install. That way you can be sure everything fits neatly.
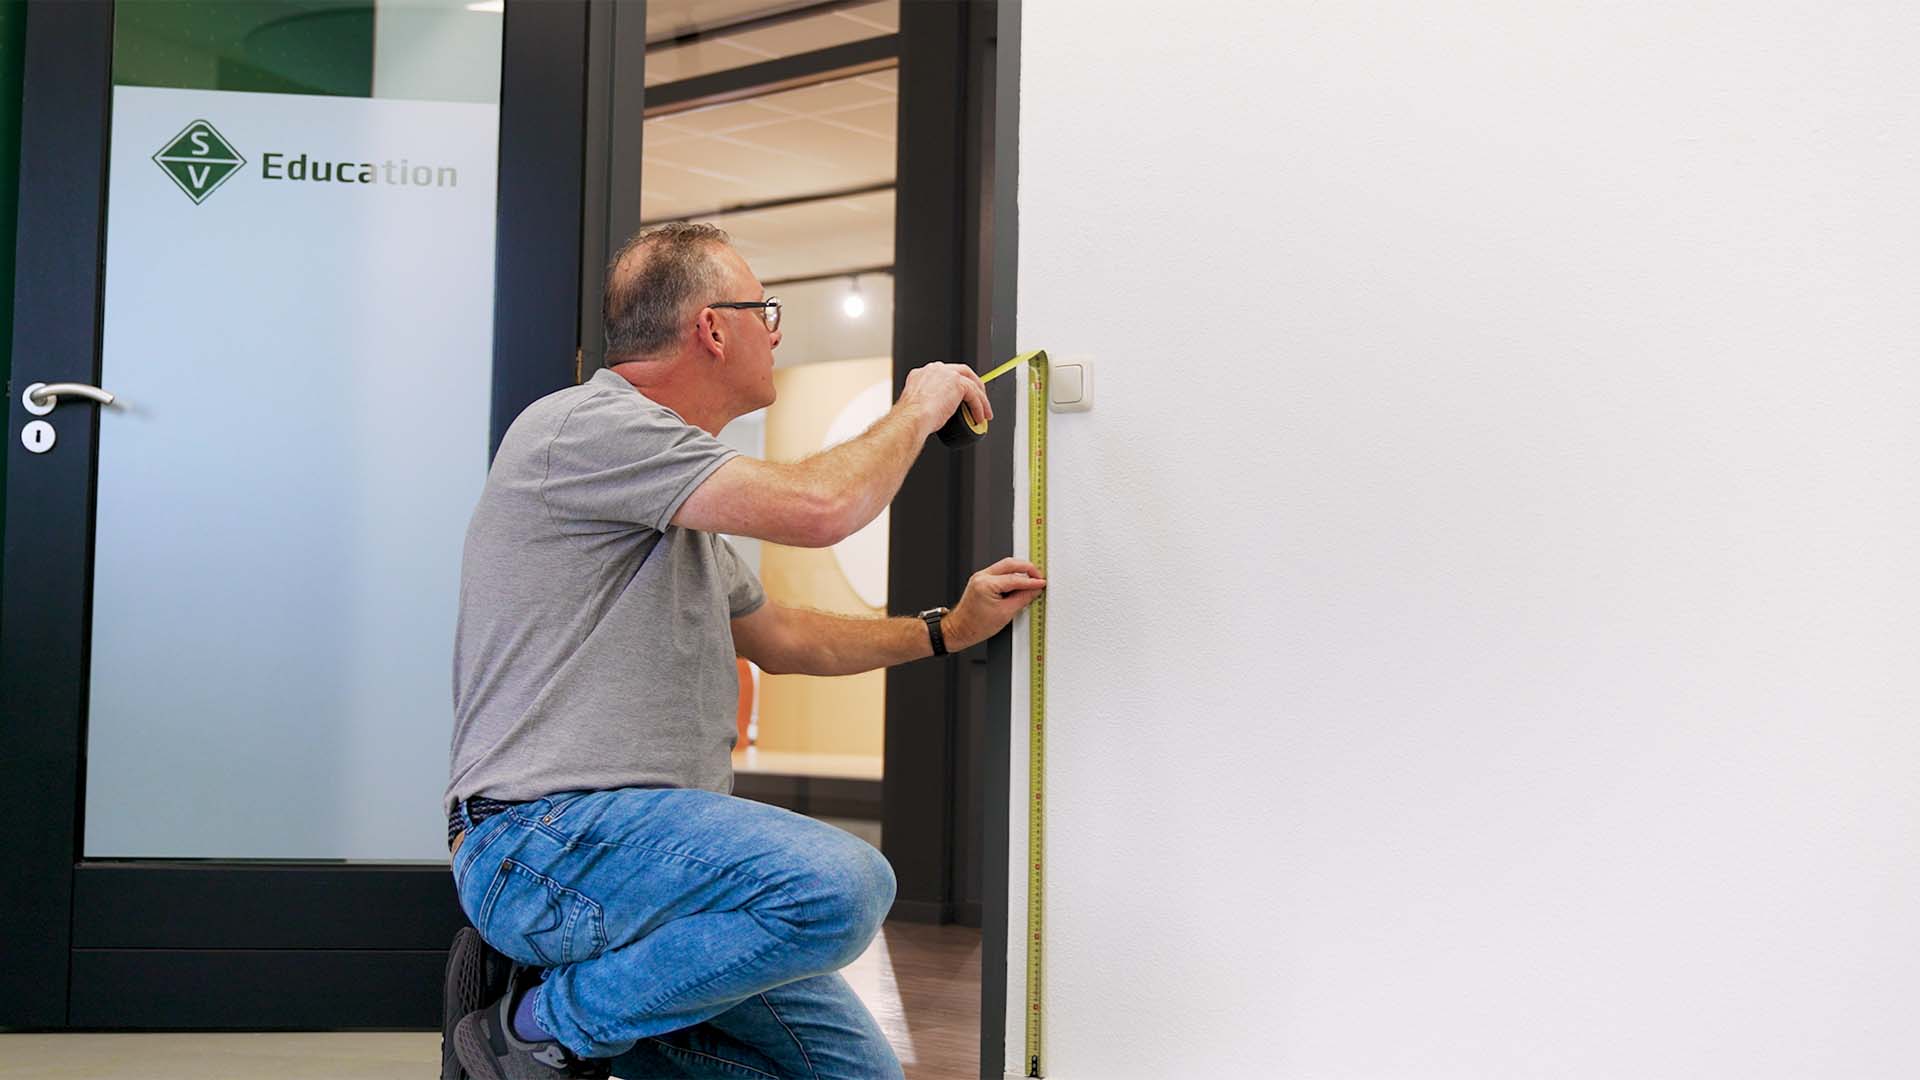
5. Record cut-outs and take photographs
If present, note all functional cut-outs such as power outlets, switches or ventilation grilles in the measuring form. Provide rather too many dimensions than too few. In the case of a circular cut‐out, supply the distance to the centre of the circle. Also take as many relevant photographs of the situation as possible and send these along. This enables us to better think along about the perfect fit and finish.
Checking and submitting the measurement form
Check the completed measurement form before sending it. Then send the form to sales@smit-visual.nl.