How to install a whiteboard wall?
Step by step explained
Hanging a Chameleon whiteboard is almost as much fun as writing on it. Follow these steps and your whiteboard wall will always hang straight and tight.
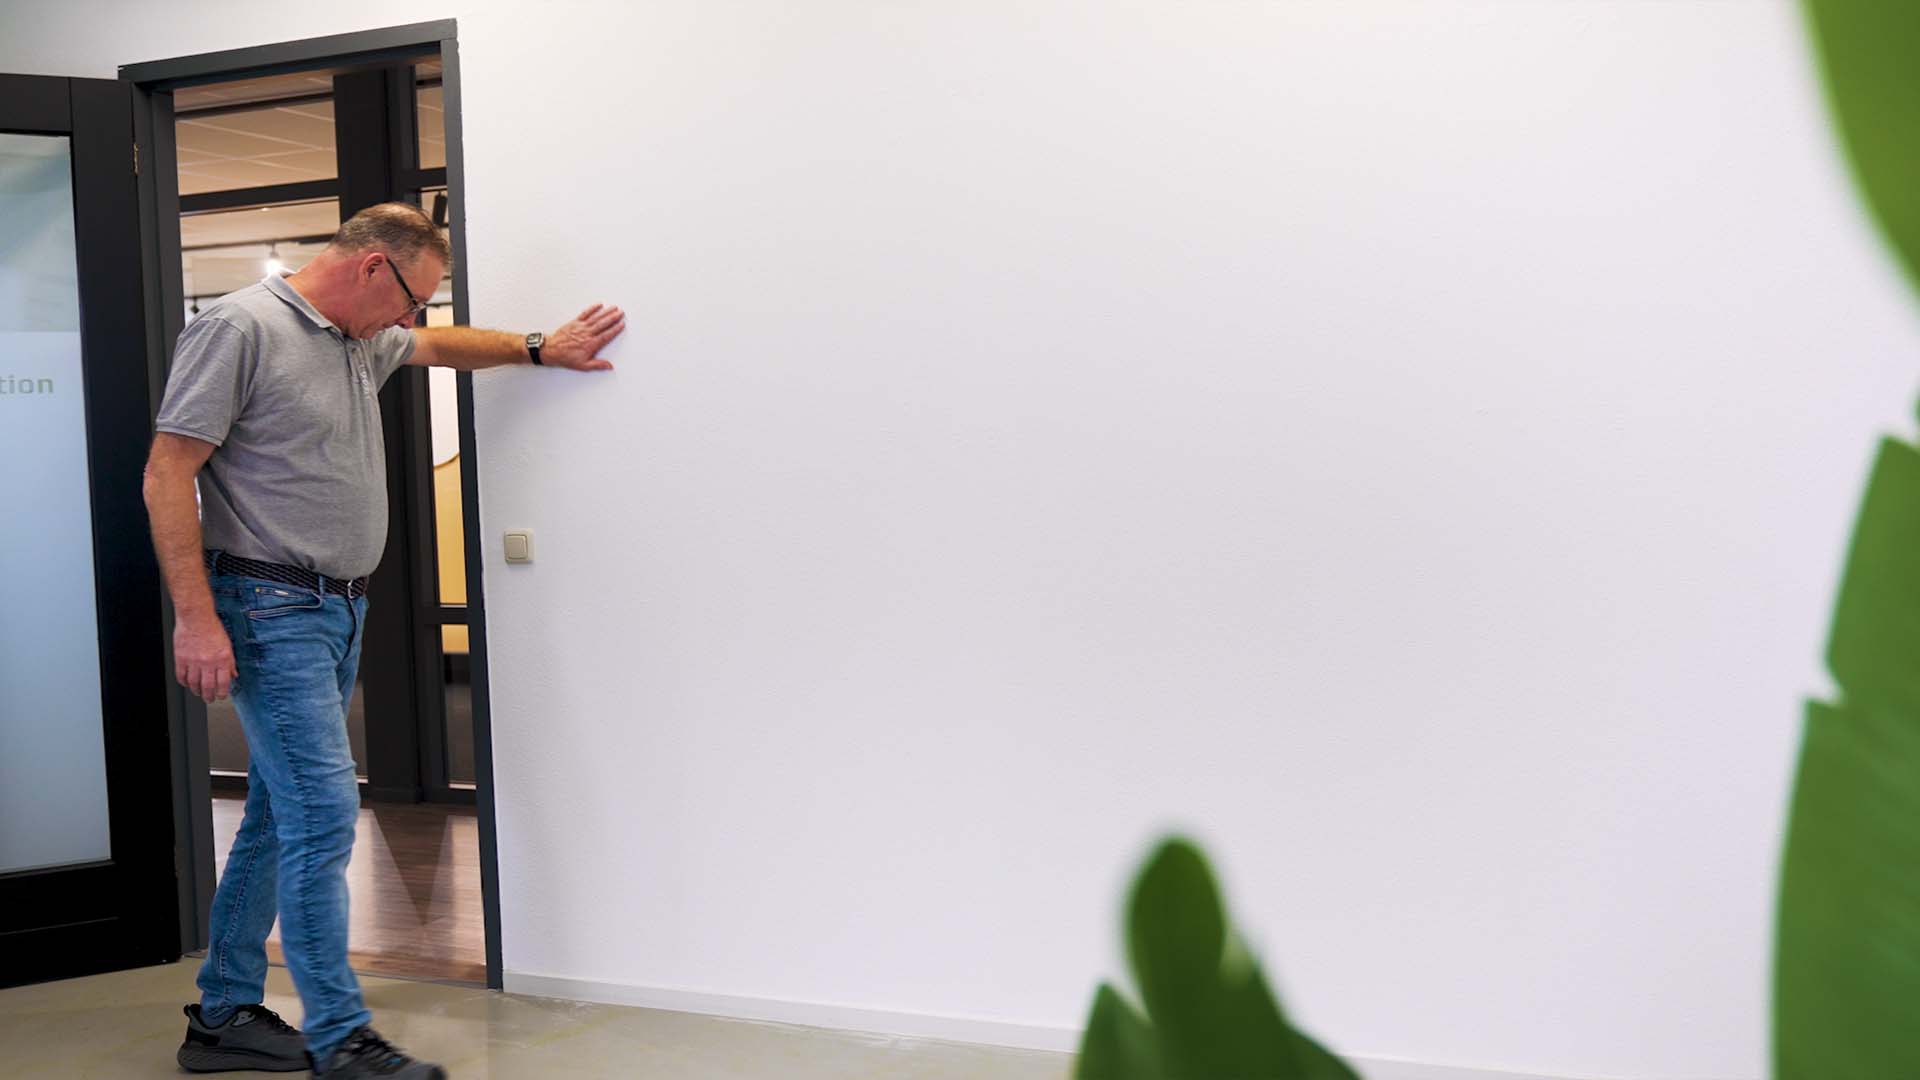
Step 1. Check the wall
Before you start, ensure the substrate is suitable:
- Remove old screws, plugs or uneven spots.
- Smooth surface: move directly to step 2.
- Slightly uneven: you will correct this later with spacers.
- Heavily uneven: consider putting up fresh plaster, or a batten structure.
Tip: A well-prepared wall saves you a lot of time and frustration later.
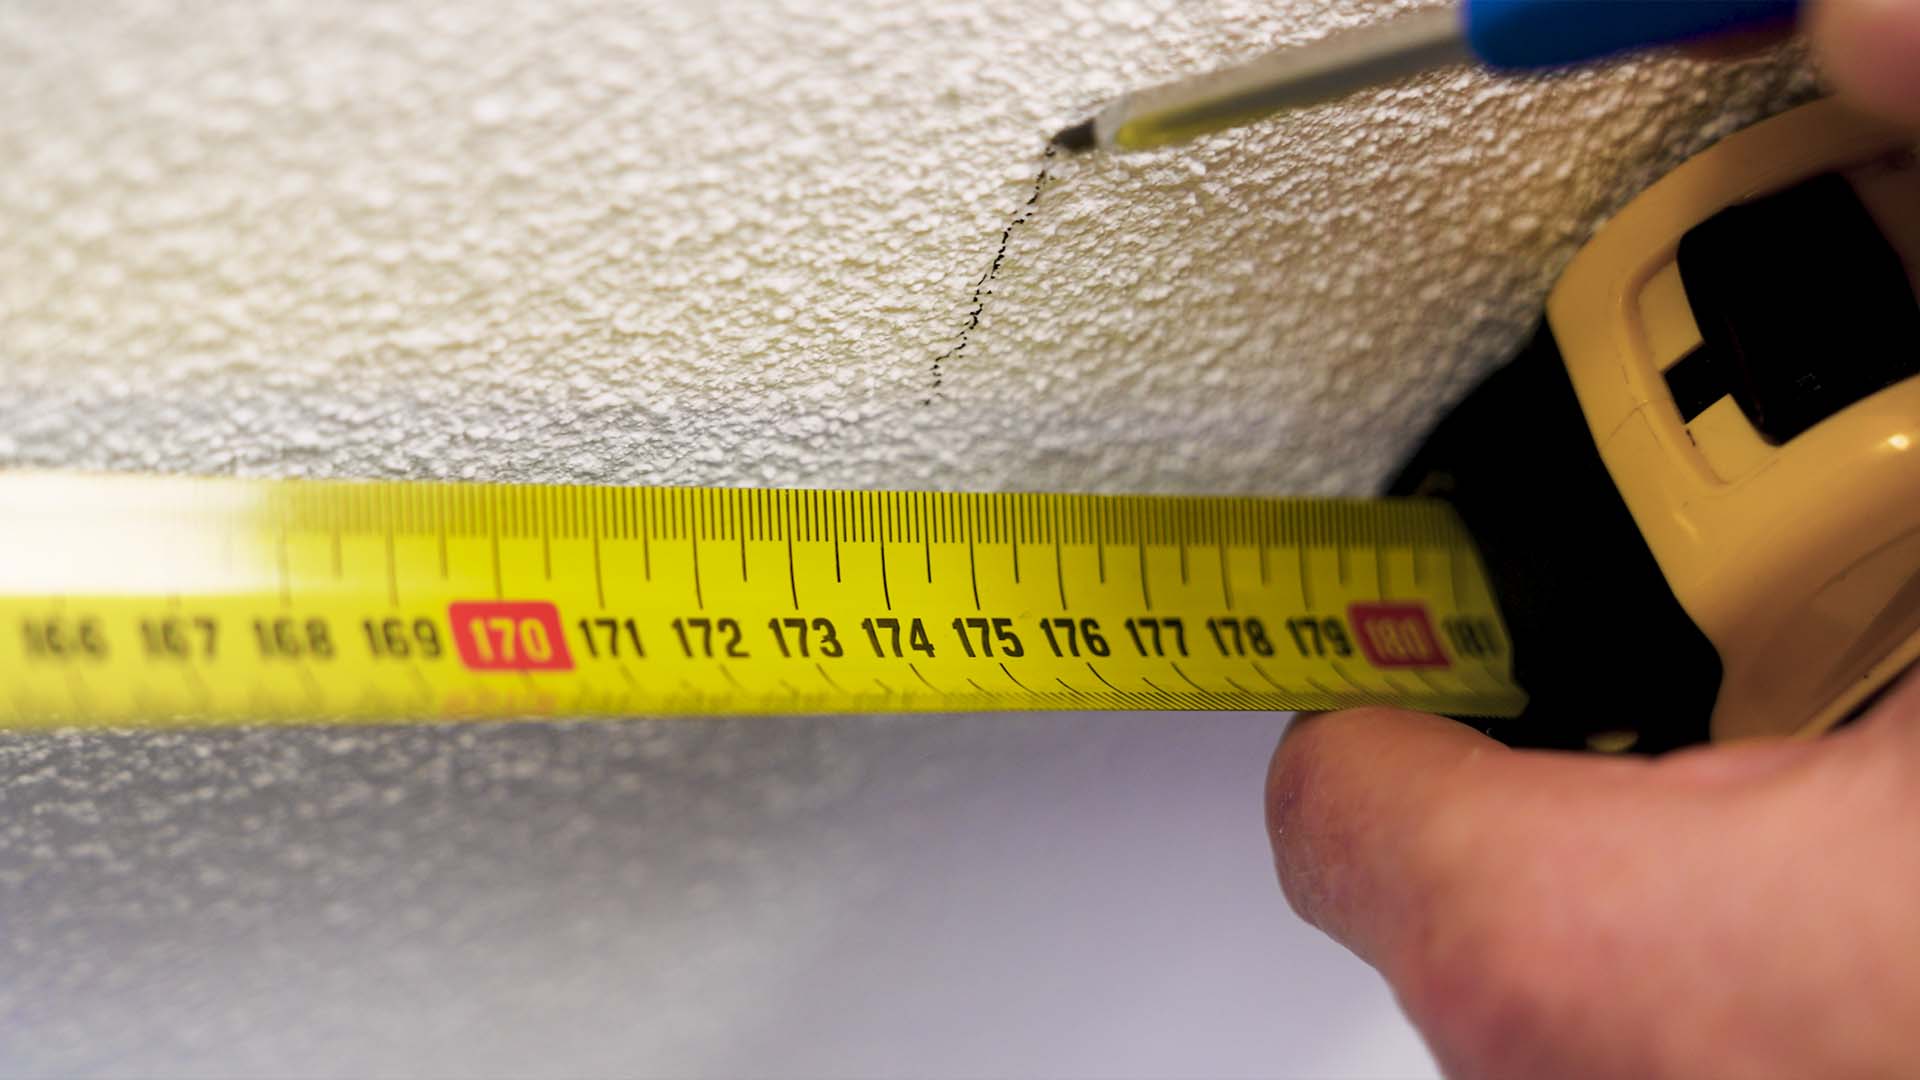
Step 2. Marking
Ensure precise alignment of your whiteboard panels:
- Find the middle of the wall: measure width and height and mark with a small cross.
- Determine the position of the whiteboard panels: measure from the middle to the left and right. Mark the outer edges 50 mm inside as mounting margin.
- Repeat this for the height: from the middle measure up and down and again mark the outer edges 50 mm inside. You now have 9 markings: 3 top, 3 middle, 3 bottom.
- Mark the drill holes: consult the supplied installation manual first. Then use the supplied magnet plate as a handy template to accurately mark the exact distance between the drill holes.
Tip: The whiteboard panels will later overlap these lines by 50 mm for a perfect join.
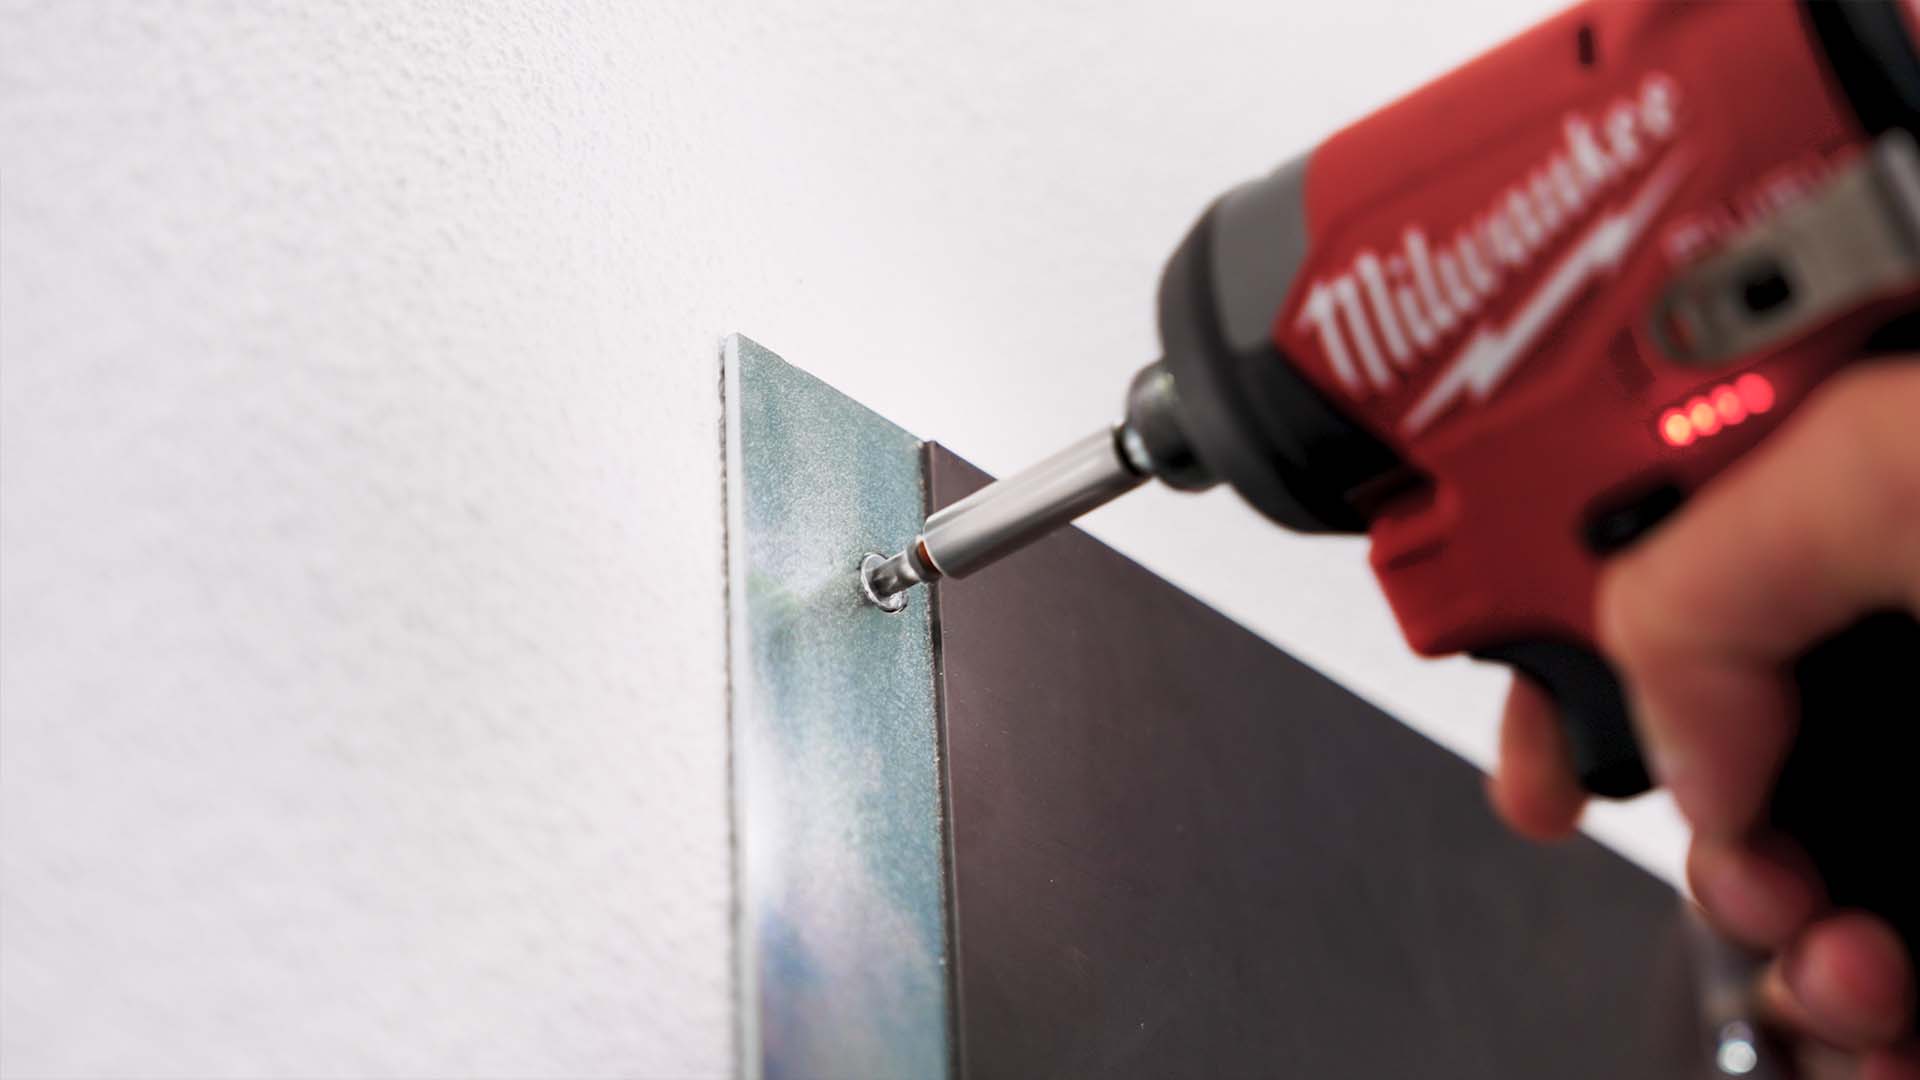
Step 3A. Mounting the magnet plates if the wall is straight
If your wall is flat and even you can fix the magnet plates directly. Work carefully because this forms the basis for a perfectly straight whiteboard wall.
- Drill the holes in the marked points.
- Use plugs that match the wall type.
- Screw the magnet plates firmly, without bending them.
- Check with a long spirit level that all plates lie flat against the wall.
Step 3B. Mounting the magnet plates if the wall is not completely straight
If the wall is slightly uneven or has a slight convex/concave shape, then use spacers to align the magnet plates nicely flat.
- Slightly loosen the screws.
- Place a spacer behind the plate, hook the open end over the screw.
- Tighten the screws again and check with the spirit level.
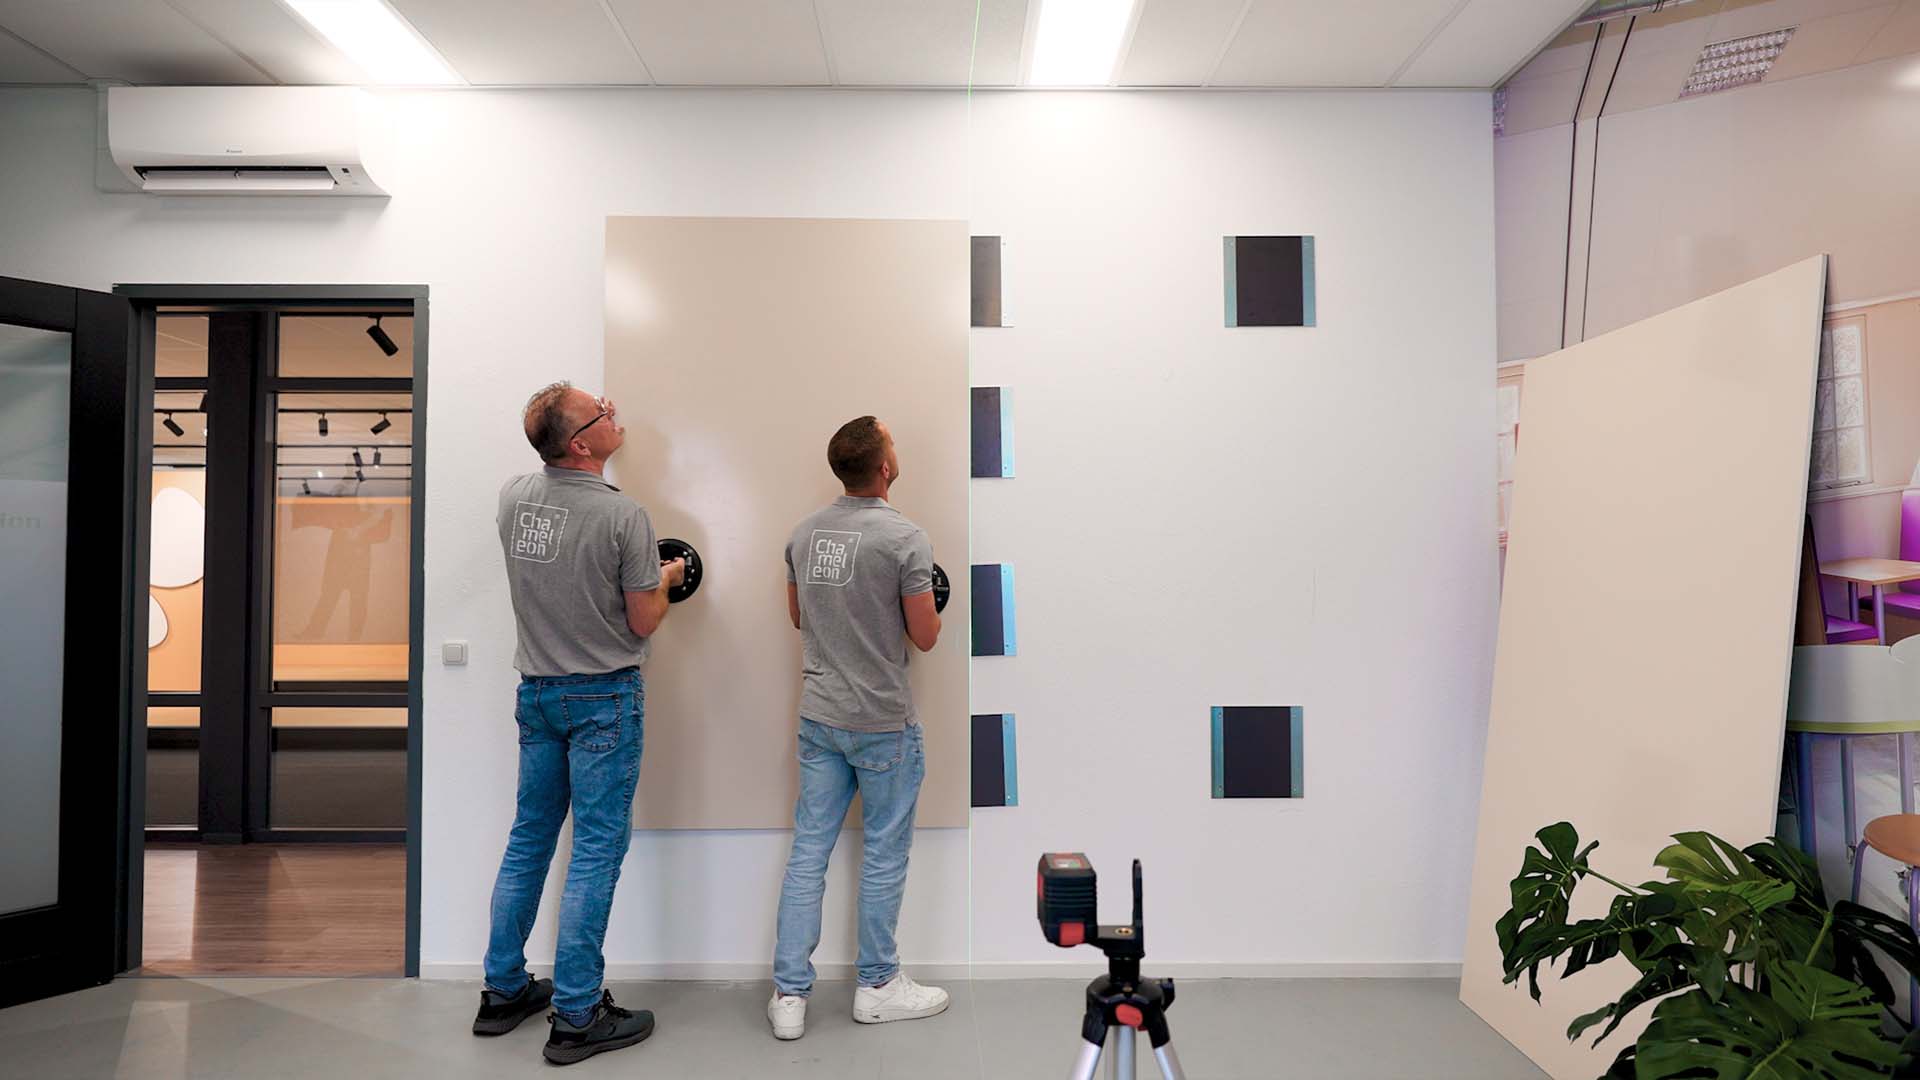
Step 4. Hang the whiteboard panels
Now the fun part begins: hanging the panels. Thanks to the magnet plates each panel clicks easily into place. Work calmly and precisely for a neat and seamless finish.
- Place a cross-line laser at the midpoint of the wall for perfect alignment.
- Use glass lifters to position the first whiteboard panel:
- Top edge: 50 mm above the magnet plates.
- Side edge: along the vertical laser line.
- Check with a long spirit level.
- Tap gently with a rubber hammer if small adjustments are needed.
- Place the subsequent panels tight against the previous one and repeat until the entire wall is hung.
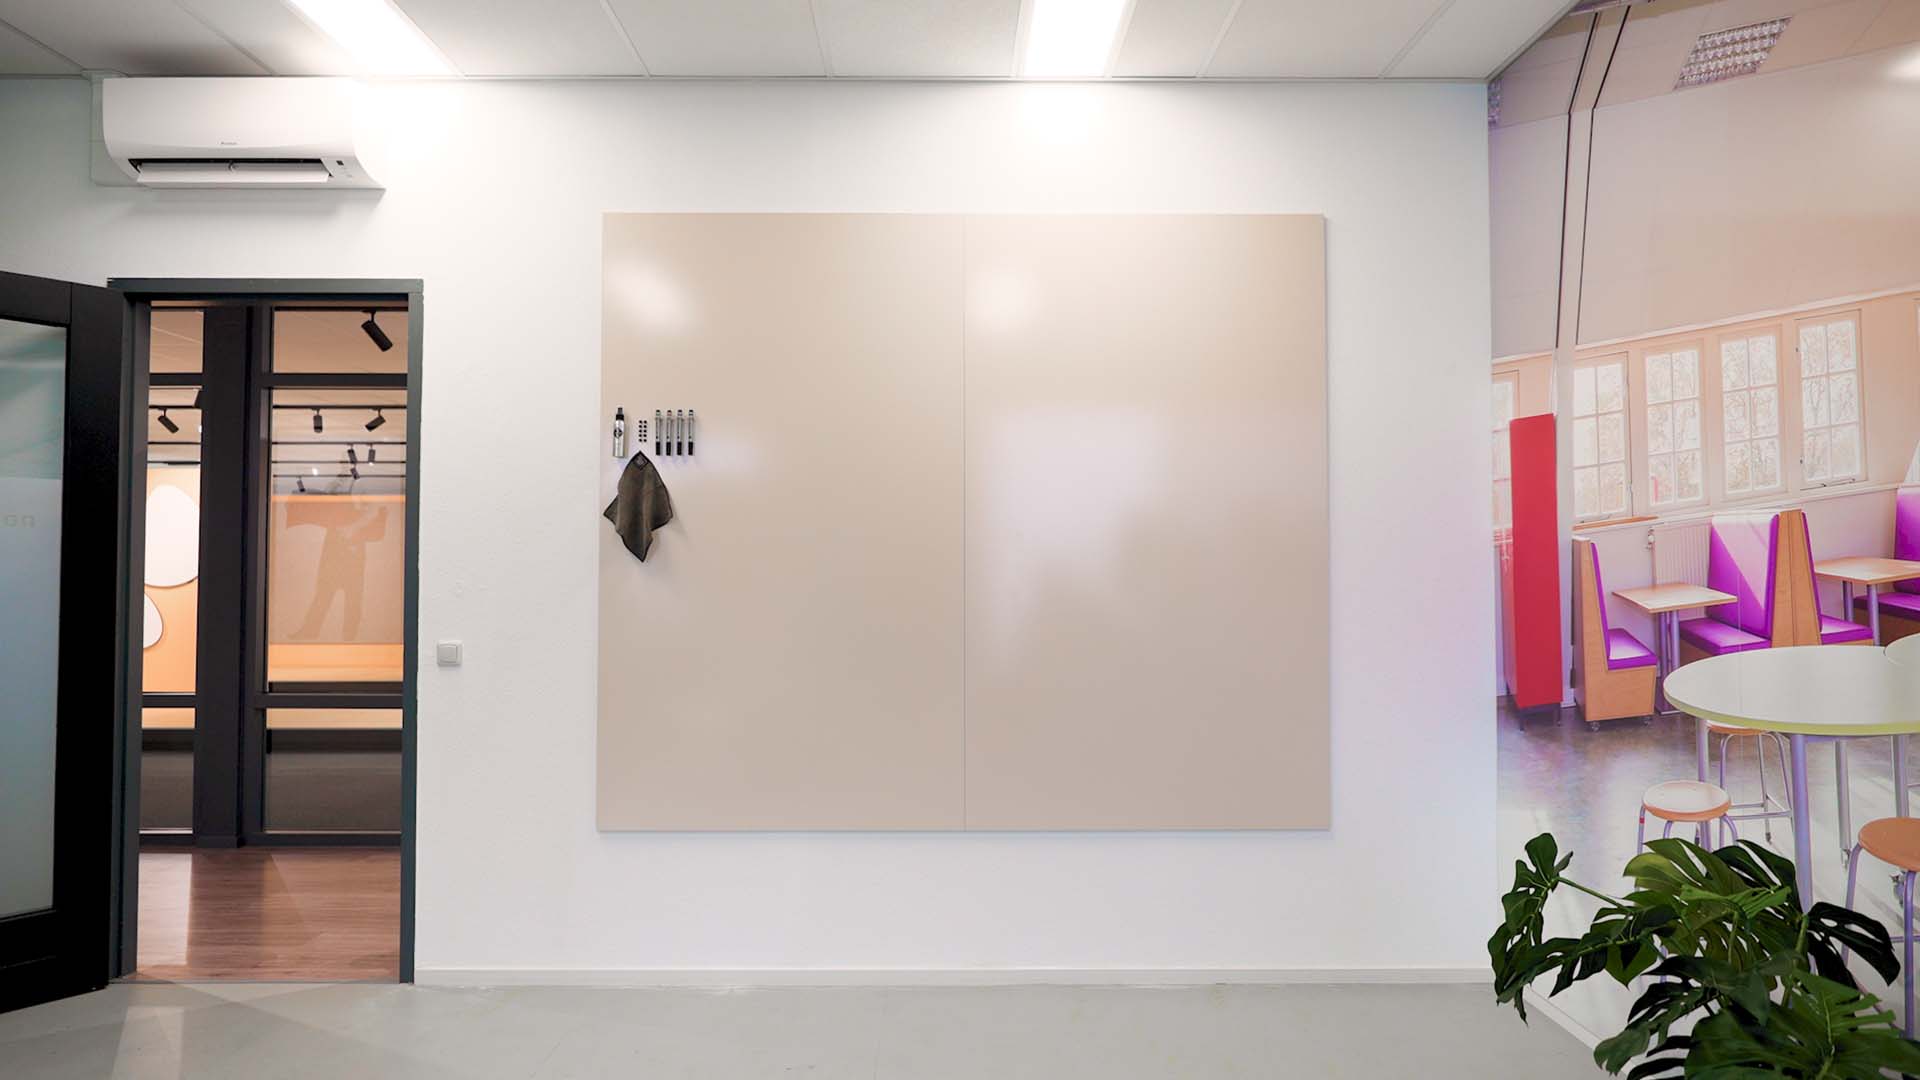
Ready
Your Chameleon whiteboard wall is now perfectly straight, flush against the wall and ready for use. A professional result in just a few simple steps.